Create Class Group Guide
This guide walks you through creating a Class Group in BrainFit Scheduling. Class Groups are used to organize students and trainers into manageable scheduling units for a term.
What is a Class Group?
A Class Group is a sub-group within a BrainFit HQ class that:
- Organizes students and trainers together for scheduling
- Defines session capacity and change request limits
- Runs for a specific term period (start date to end date)
- Can pull members from one or multiple classes (combo classes)
Before You Start
Make sure you have:
-
Required Role: One of the following roles is needed to create a class group:
- Super Admin - Full system access
- Master Licensee - Regional management access
- Center Admin - Center-level management access
Note: Trainers have view-only access and cannot create or edit class groups.
-
At least one class in your center with enrolled students and assigned trainers
-
The term dates (start and end dates) ready
Step-by-Step Guide
Step 1: Navigate to Classes
- Log in to BrainFit Scheduling
- From the sidebar menu, click Classes
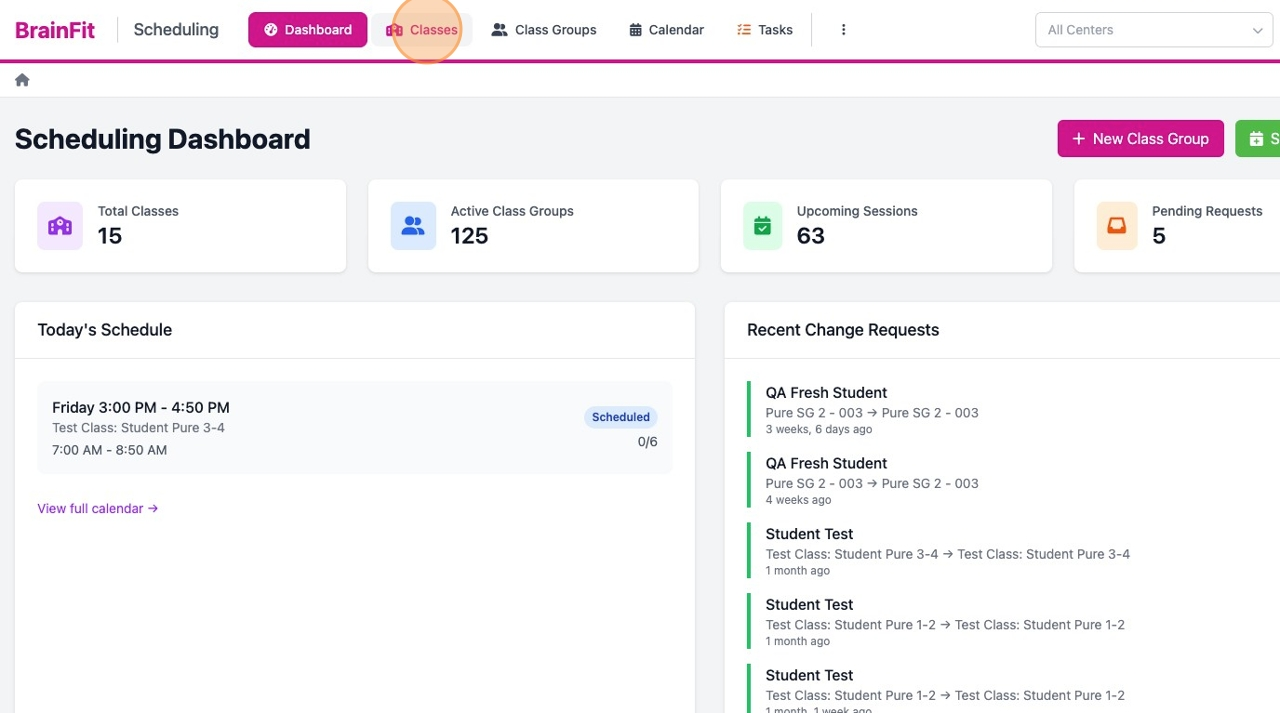
- You will see a list of all classes in your center(s)
Step 2: Select a Class
-
Find the class you want to create a group for
-
Click on the class name to open the Class Detail page
-
Review the class information:
- Number of students enrolled
- Trainers assigned to the class
- Existing class groups (if any)
Step 3: Start Creating a Class Group
- Click the Create Class Group button (purple button at the top right)
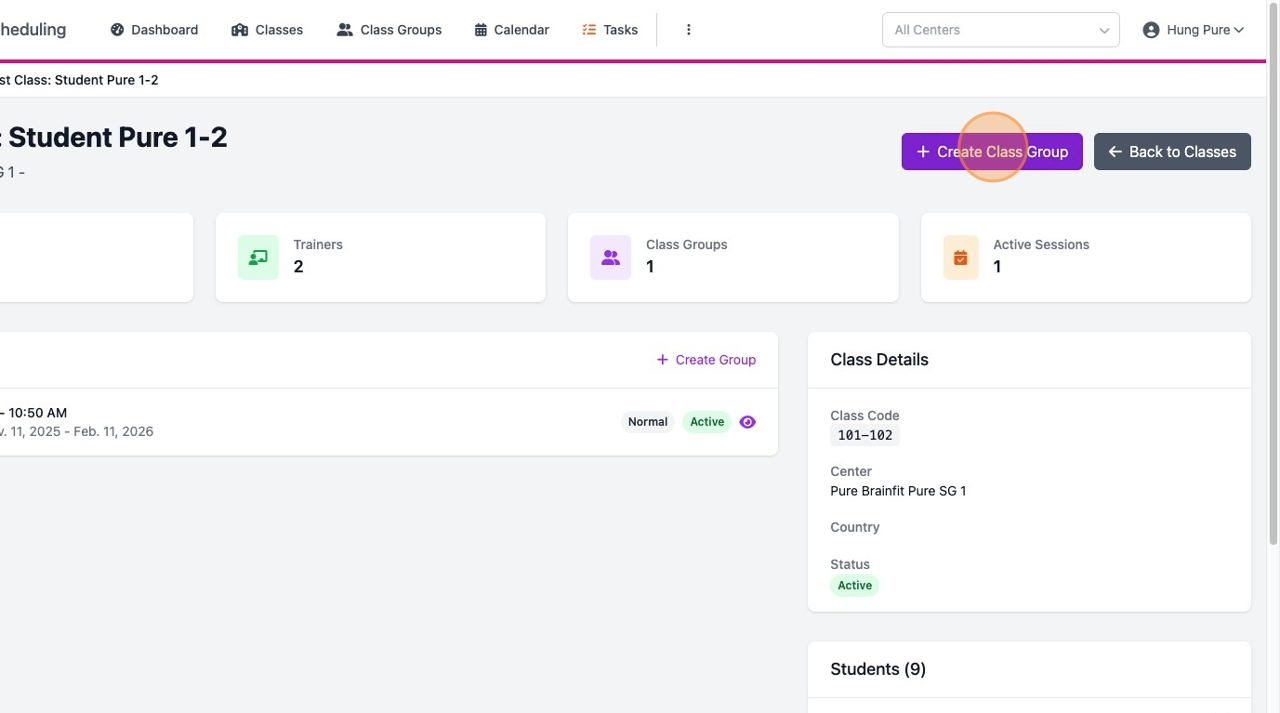
- You will be taken to the Class Group creation form
Step 4: Fill in Basic Information
| Field | Description | Required |
|---|---|---|
| Class Group Name | A descriptive name for the group (e.g., "SmartFit T2 Group 1", "BrainFit Saturday AM") | Yes |
| Group Type | Choose Normal or Premium | Yes |
| Select Classes | Choose one or more classes for this group | Yes |
| Description | Optional notes about this group | No |
| Color | Pick a color for calendar display | Yes |
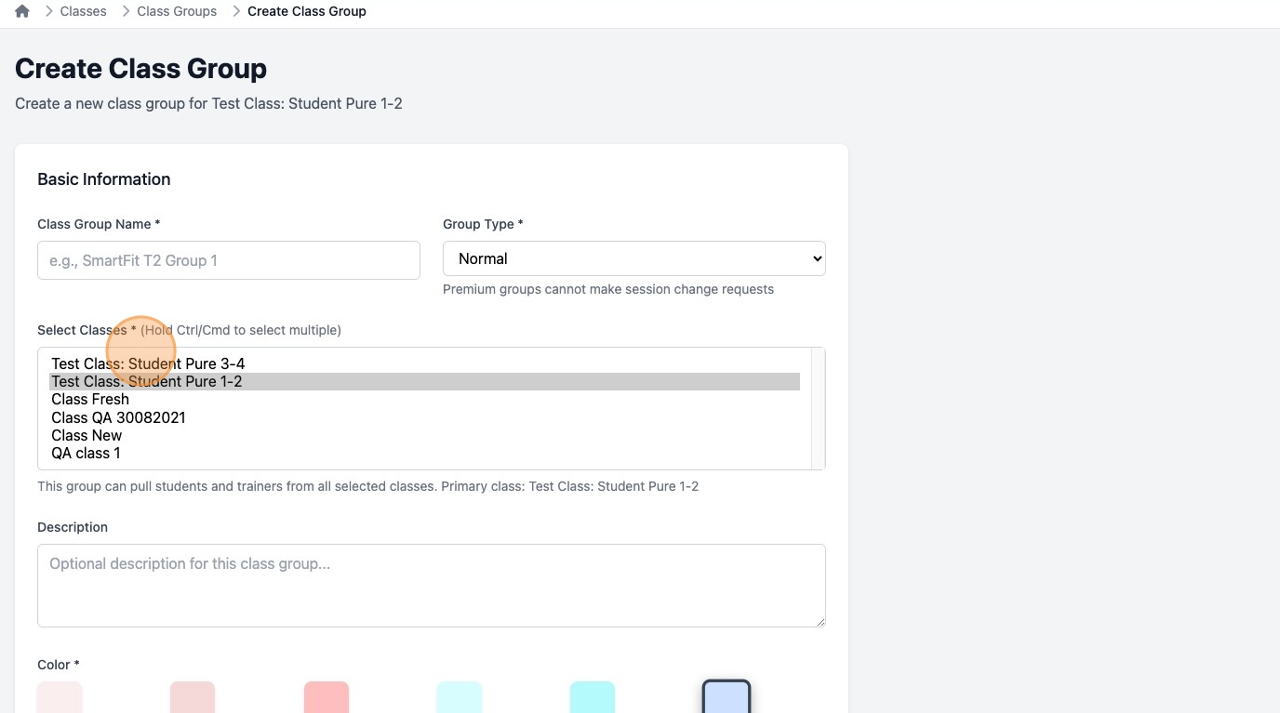
Group Types Explained:
| Type | Description |
|---|---|
| Normal | Students/parents can submit session change requests |
| Premium | Session change requests are NOT allowed (typically for premium 1-on-1 classes) |
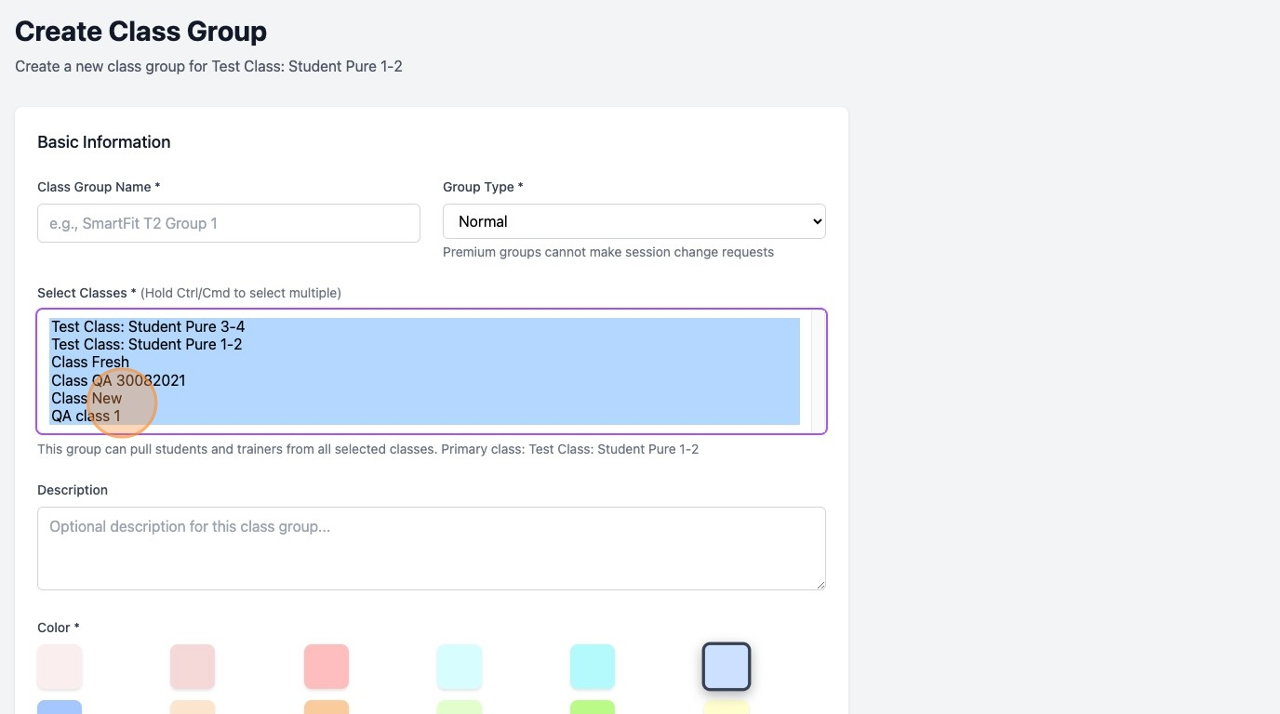
Combo Classes (Multiple Classes):
If you select multiple classes, this creates a "combo" class group:
- Students and trainers from ALL selected classes will be available for assignment
- Useful when students attend multiple related programs together
- A combo icon will appear next to the group name in lists
Step 5: Set Term Period
| Field | Description | Default |
|---|---|---|
| Term Start Date | When the class group sessions begin | Today |
| Term End Date | When the class group sessions end | 3 months from today |
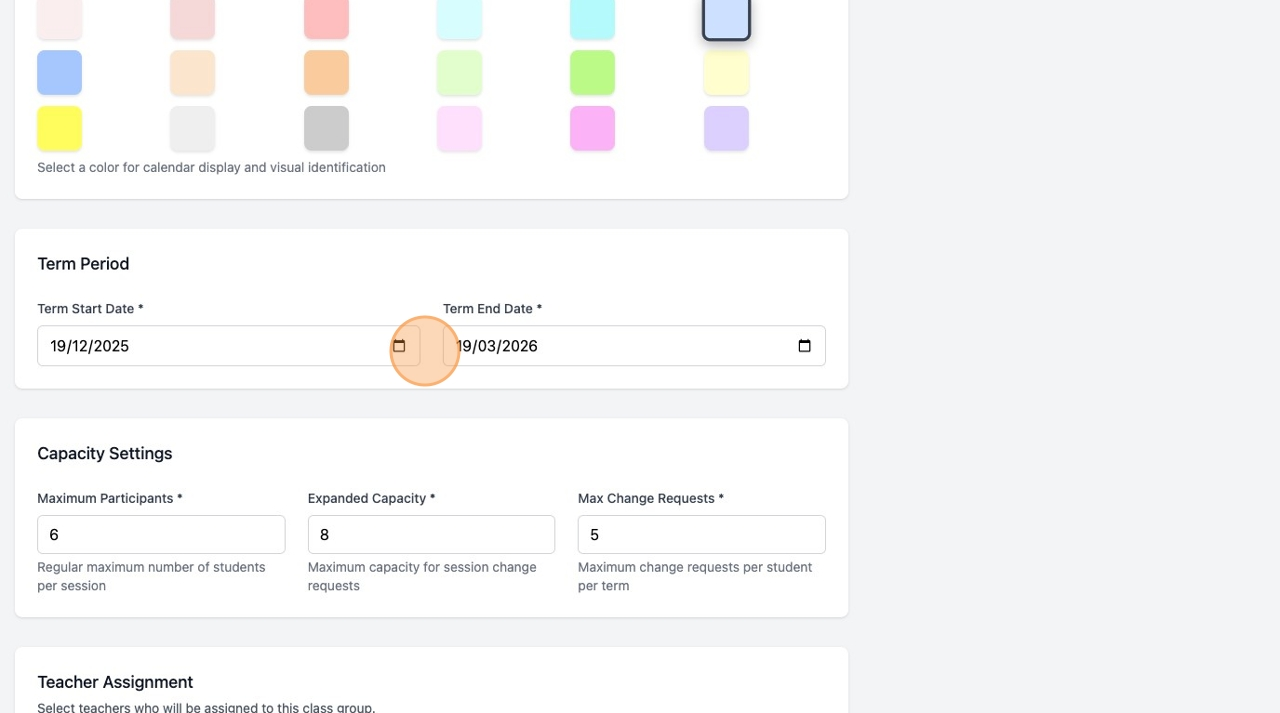
Tips:
- Align dates with your center's term schedule
- End date must be after start date
- Sessions can only be created within this date range
Step 6: Configure Capacity Settings
| Field | Description | Default |
|---|---|---|
| Maximum Participants | Regular max students per session | 6 |
| Expanded Capacity | Max capacity when allowing session changes | 8 |
| Max Change Requests | Maximum session changes per student per term | 5 |
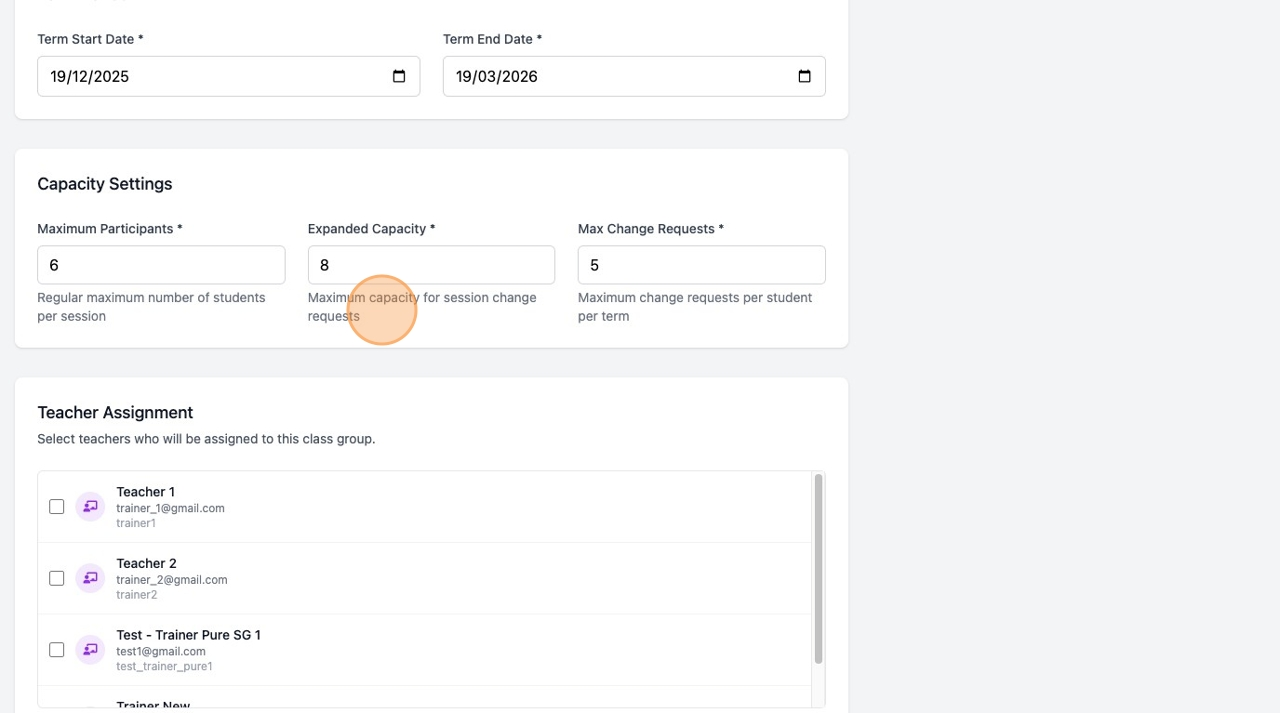
How Capacity Works:
Normal Operations:
Sessions can have up to [Maximum Participants] students assigned

Session Change Requests:
When a parent requests to move their child to another session,
the system will allow it if the destination session has fewer
than [Expanded Capacity] students

Change Request Limits:
Each student can make up to [Max Change Requests] session
changes during the term period
Step 7: Assign Teachers
- Review the list of available trainers from the selected class(es)
- Check the box next to each trainer you want to assign to this group
- You can select multiple trainers
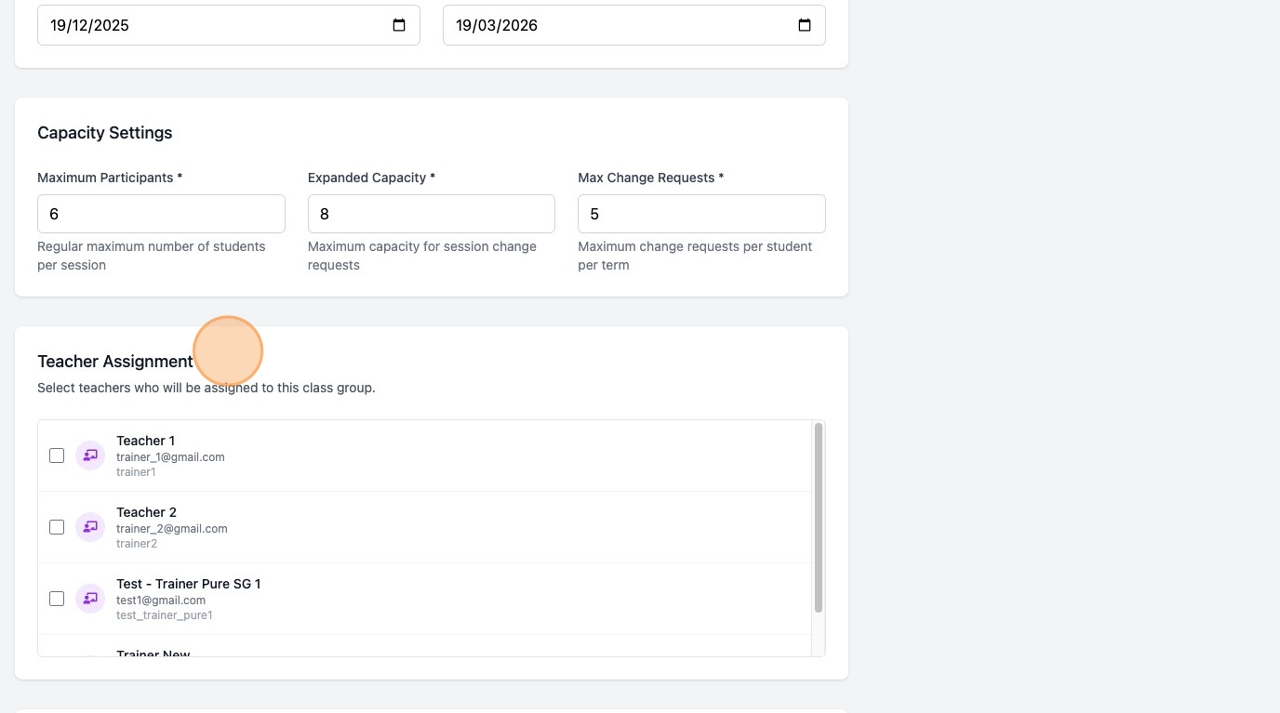
Note: Only trainers already assigned to the selected class(es) in BrainFit HQ will appear here.
Step 8: Assign Students
- Review the list of available students from the selected class(es)
- Use Select All to quickly select all students
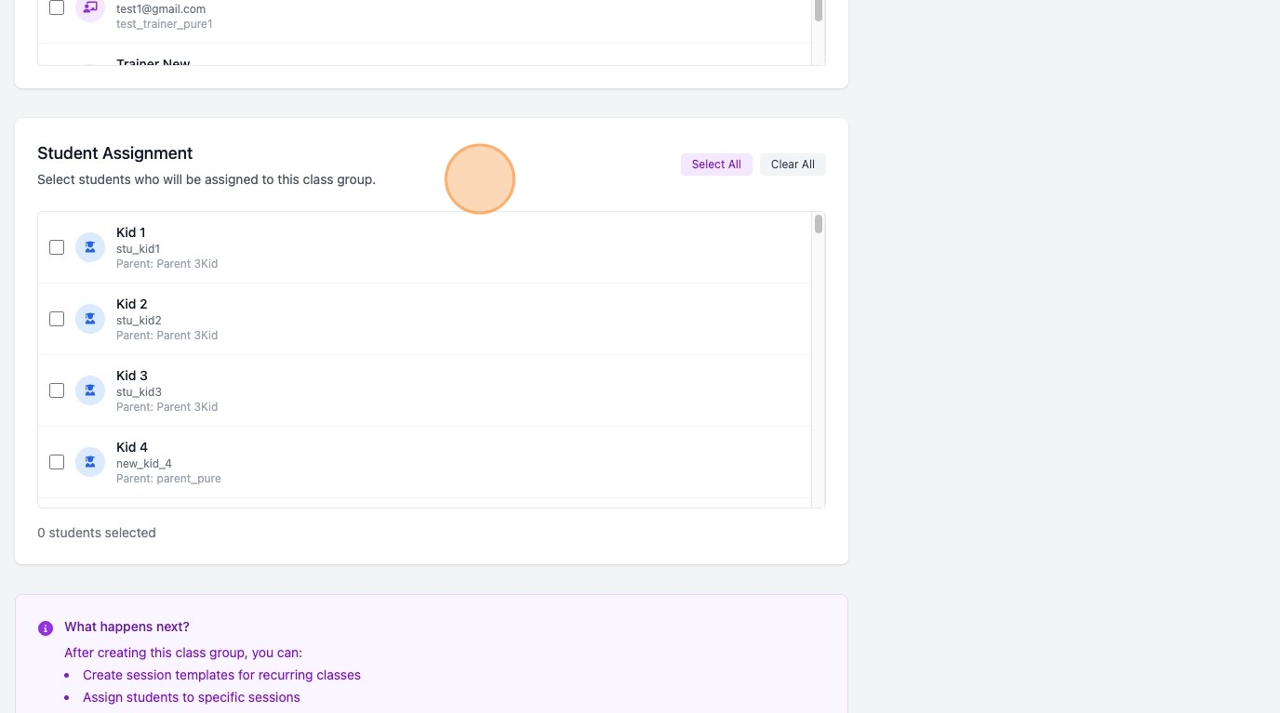
- Use Clear All to deselect all students
- Check individual students as needed
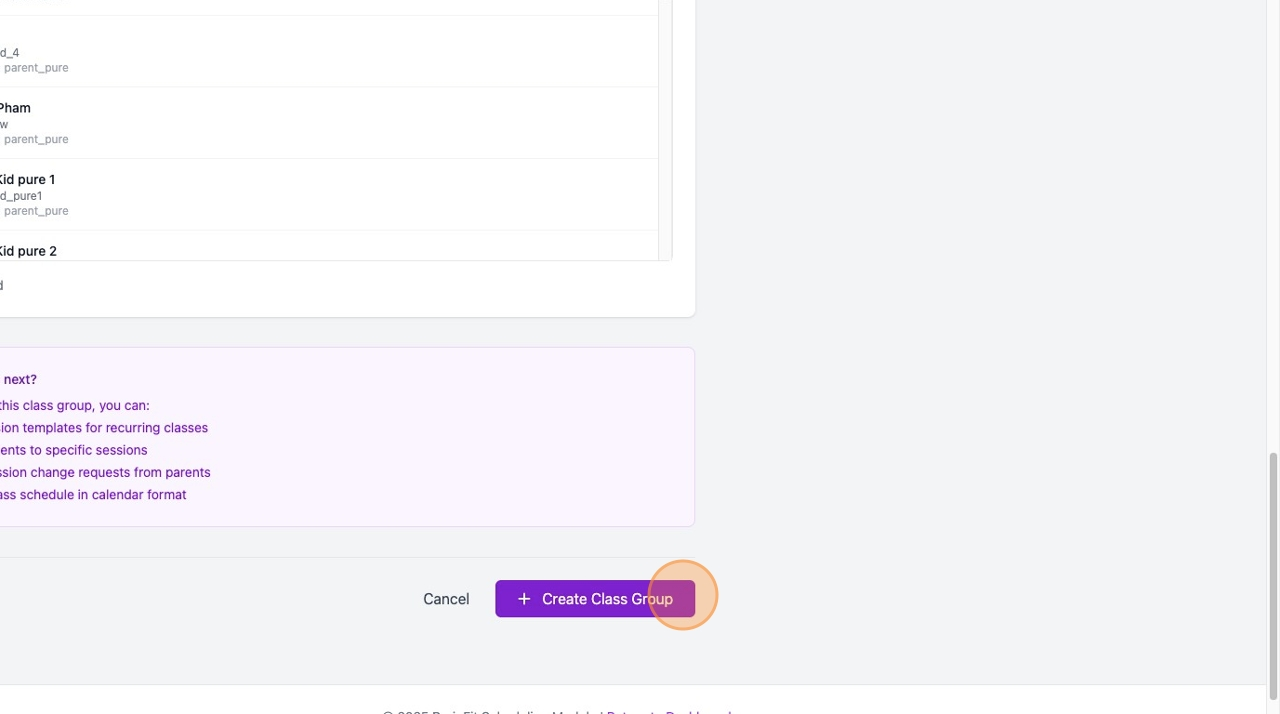
The counter at the bottom shows how many students you've selected.
Capacity Warning: If you select more students than the expanded capacity, a warning will appear. You can still proceed, but consider adjusting capacity settings.
Step 9: Review and Create
-
Review all your settings in the form
-
The information panel shows what you can do after creation:
- Create session templates for recurring classes
- Assign students to specific sessions
- Manage session change requests
- View the calendar schedule
-
Click Create Class Group (purple button at bottom)
Step 10: After Creation
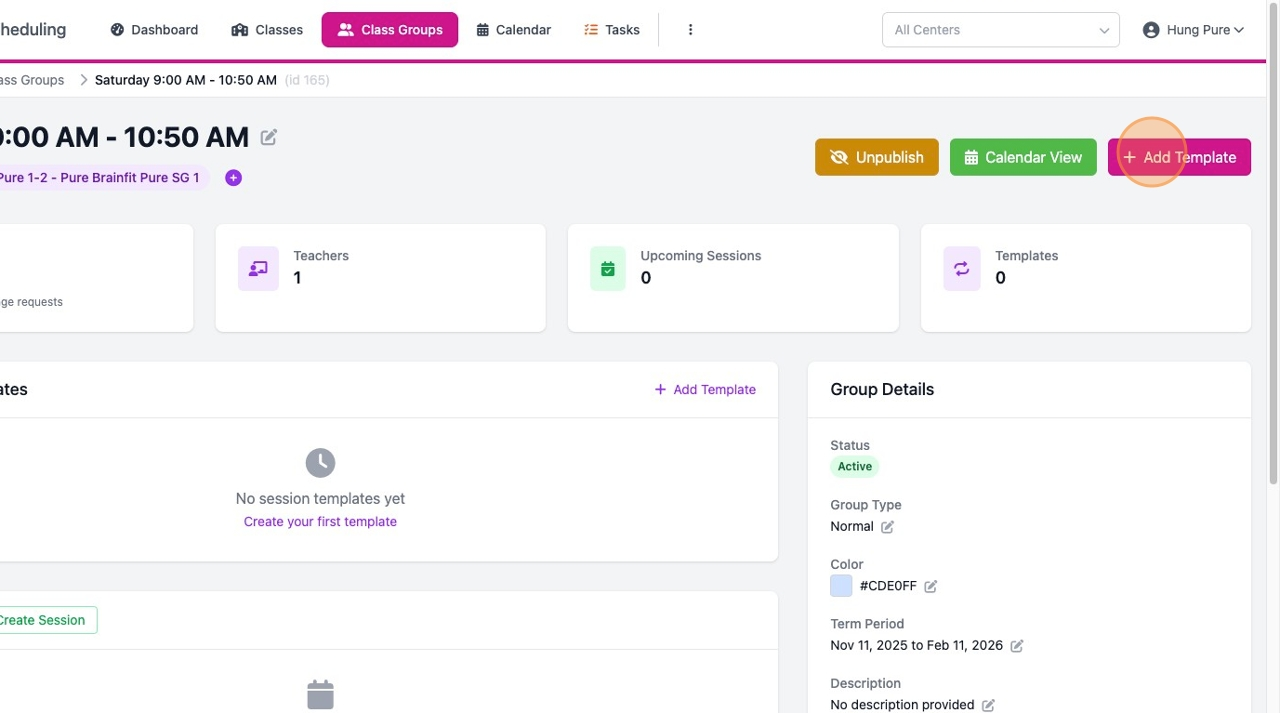
After successfully creating the class group, you will be redirected to the Class Group Detail page where you can:
- Create Session Templates - Set up recurring weekly sessions
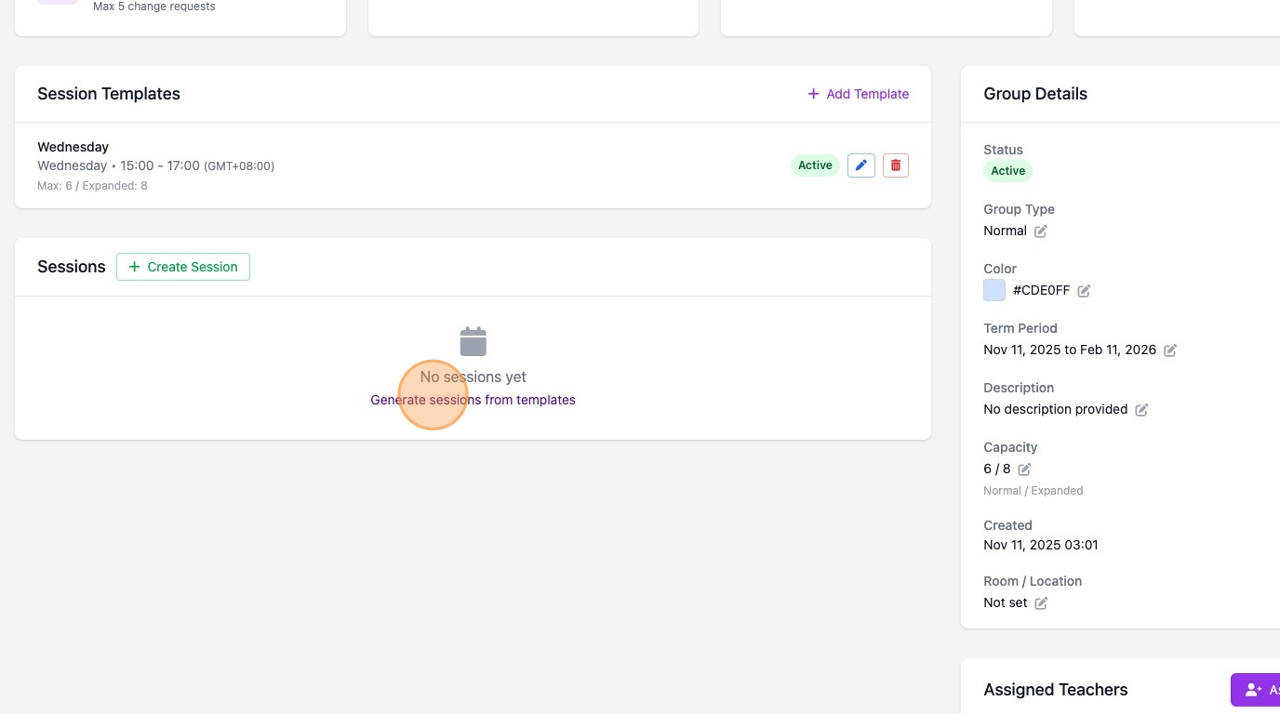
- View/Edit Members - Add or remove students and trainers
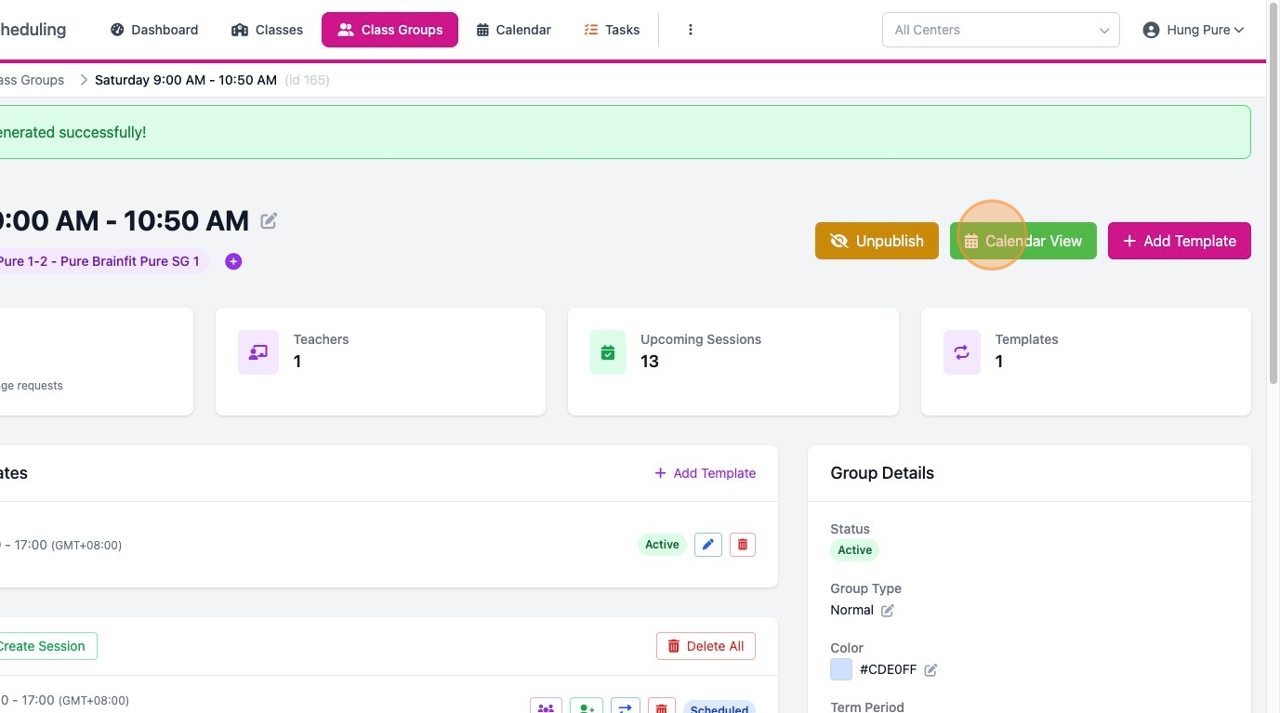
- Generate Sessions - Create actual session instances from templates
- View Calendar - See all scheduled sessions in calendar format
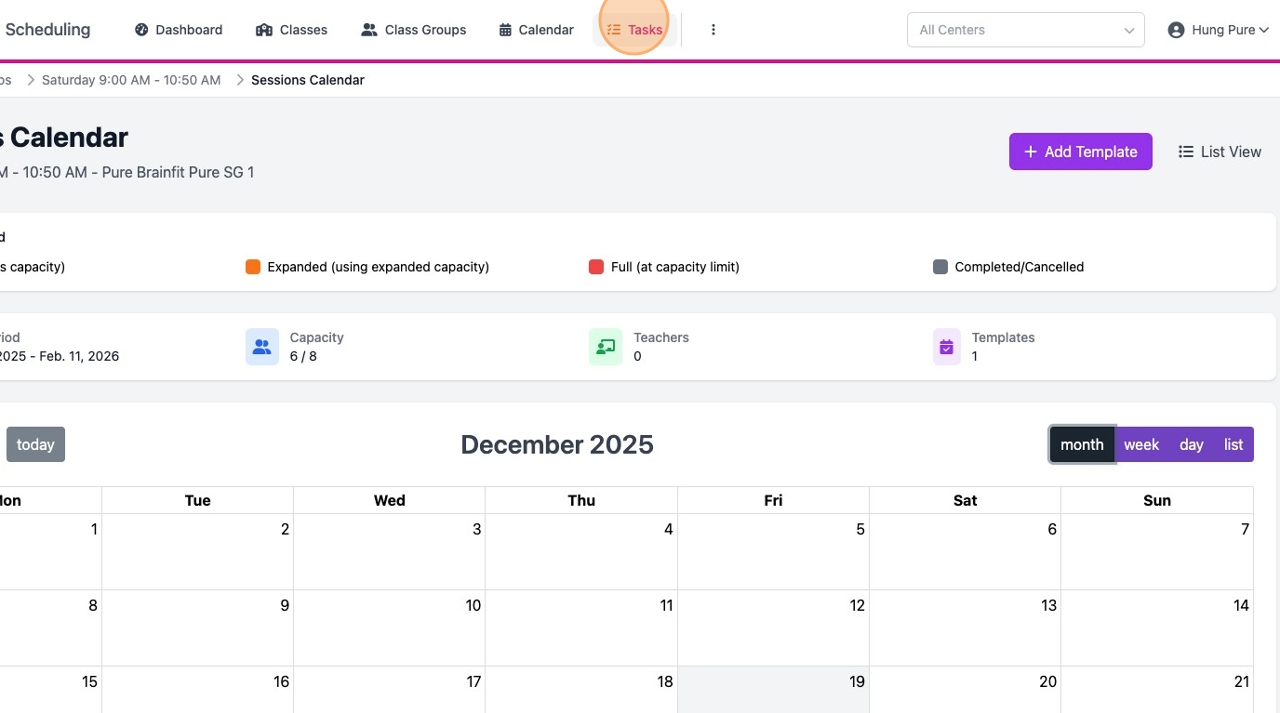
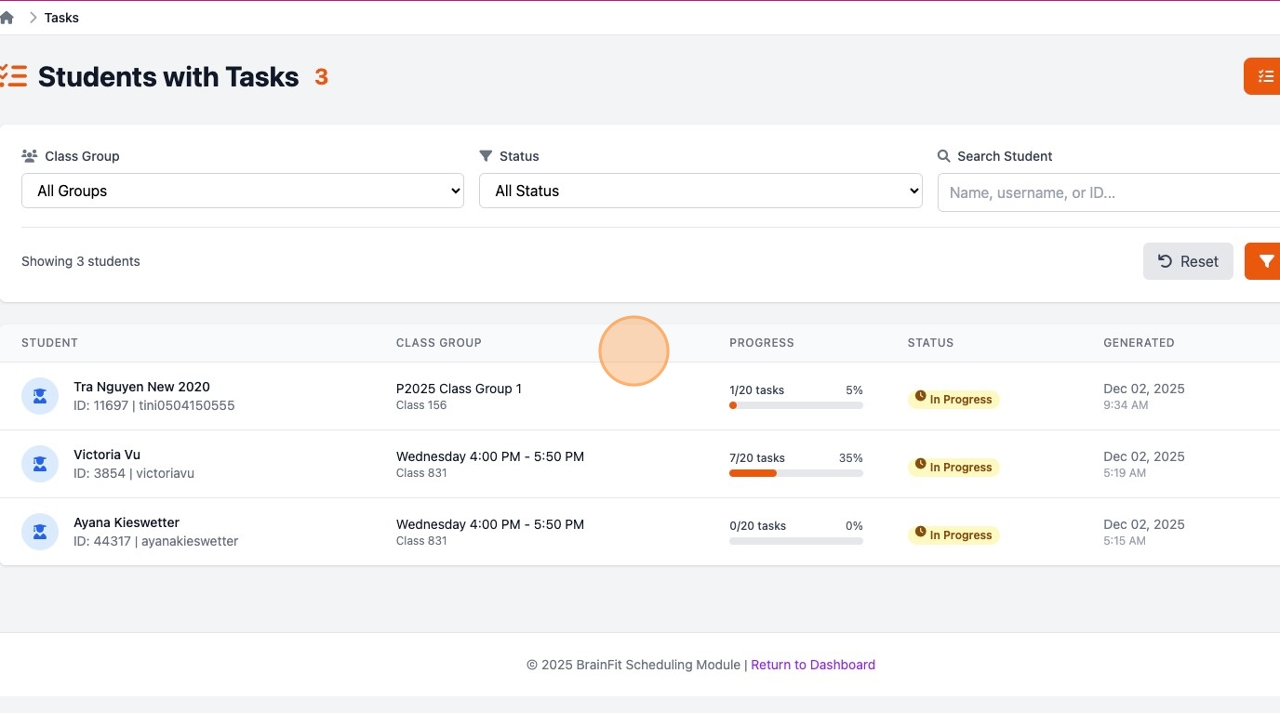
- Manage Onboarding - Generate onboarding tasks for new students
Quick Reference
Navigation Path
Classes List > [Select Class] > Class Detail > Create Class Group
URL Pattern
/classrooms/classes/{class_id}/create-group/
Common Questions
Q: Can I add more students after creating the group?
A: Yes. Go to the Class Group Detail page and use the "Add Members" feature to add more students or trainers.
Q: What happens if I select multiple classes?
A: This creates a "combo" class group. Students from any of the selected classes can be assigned, and session change requests can move students between compatible groups.
Q: Can I change the term dates after creation?
A: Yes. Go to Class Group Detail and edit the group settings to update dates.
Q: What if a student needs more than the allowed change requests?
A: An admin can manually approve additional changes or increase the limit in the group settings.
Q: How do I delete a class group?
A: Only Super Admins and Master Licensees can delete class groups. This soft-deletes the group and all related sessions, templates, and attendance records.
Next Steps
After creating a Class Group:
- Create Session Templates - Set up your recurring weekly schedule
- Generate Sessions - Create session instances for the term
- Assign Students to Sessions - Populate sessions with students
Troubleshooting
| Issue | Solution |
|---|---|
| No students/trainers showing | Make sure the class has enrolled students and assigned trainers in BrainFit HQ |
| Cannot create group | Check you have the correct permissions (Admin or Teacher Admin role) |
| Date validation error | Ensure end date is after start date |
| Capacity warning | Reduce selected students or increase expanded capacity |
Last Updated: December 2025