Management Template Assessment
This feature is for SA, ML, Master Admin, Center Admin
Finding a Template (Search & Filter)
The Templates list can be searched by name and filtered by Program — useful once you have many templates across different Programs.
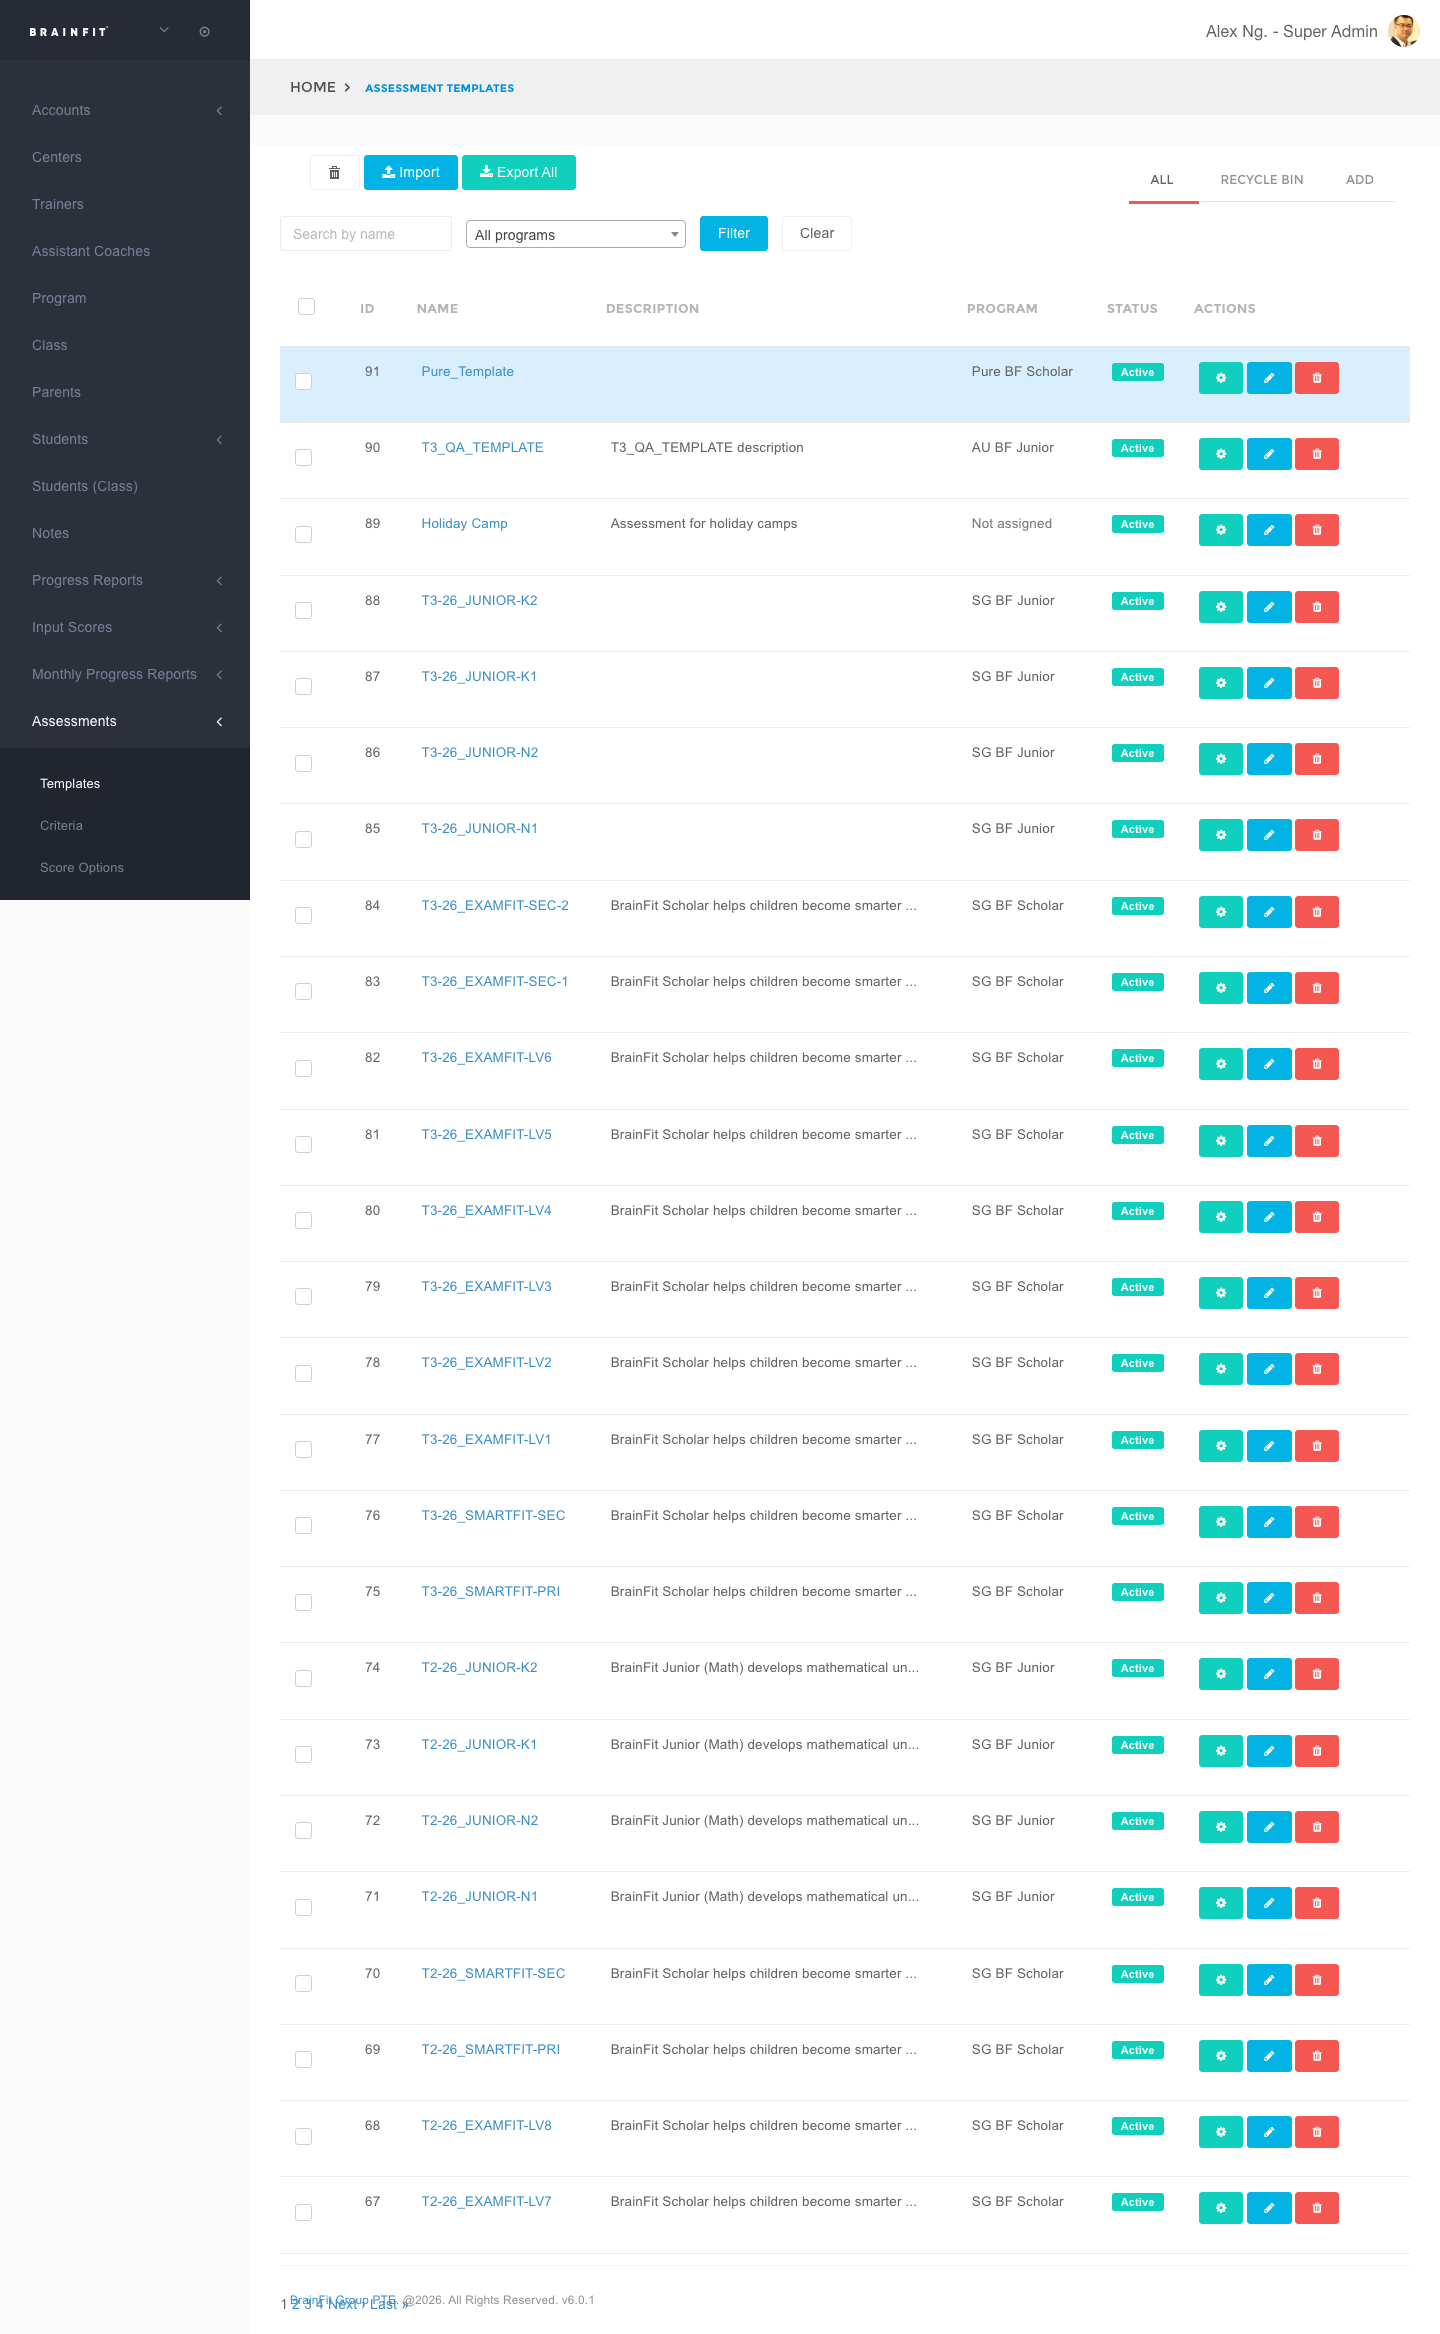
- Use the Search by name box and/or the All programs dropdown, then click Filter.
- The Program column shows each template's attached Program, or "Not assigned" if none is set yet.
Creating a New Assessment Template
- Navigate to the ACP.
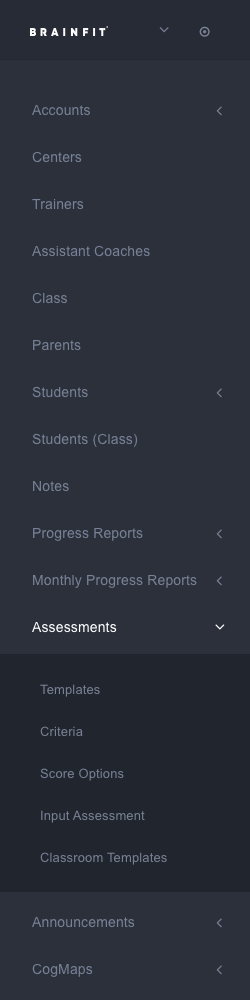
- Find the Assessments menu in the navigation menu, then click Templates.
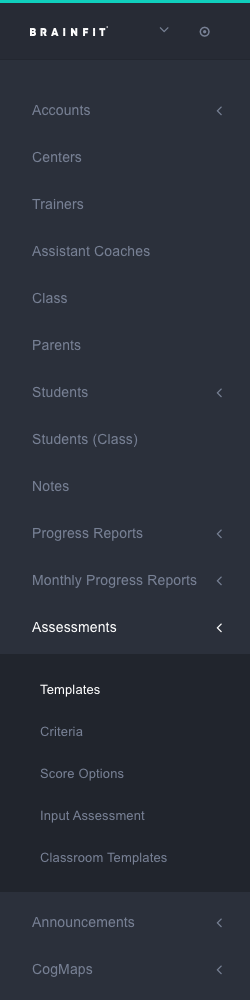
- Click the Add button.
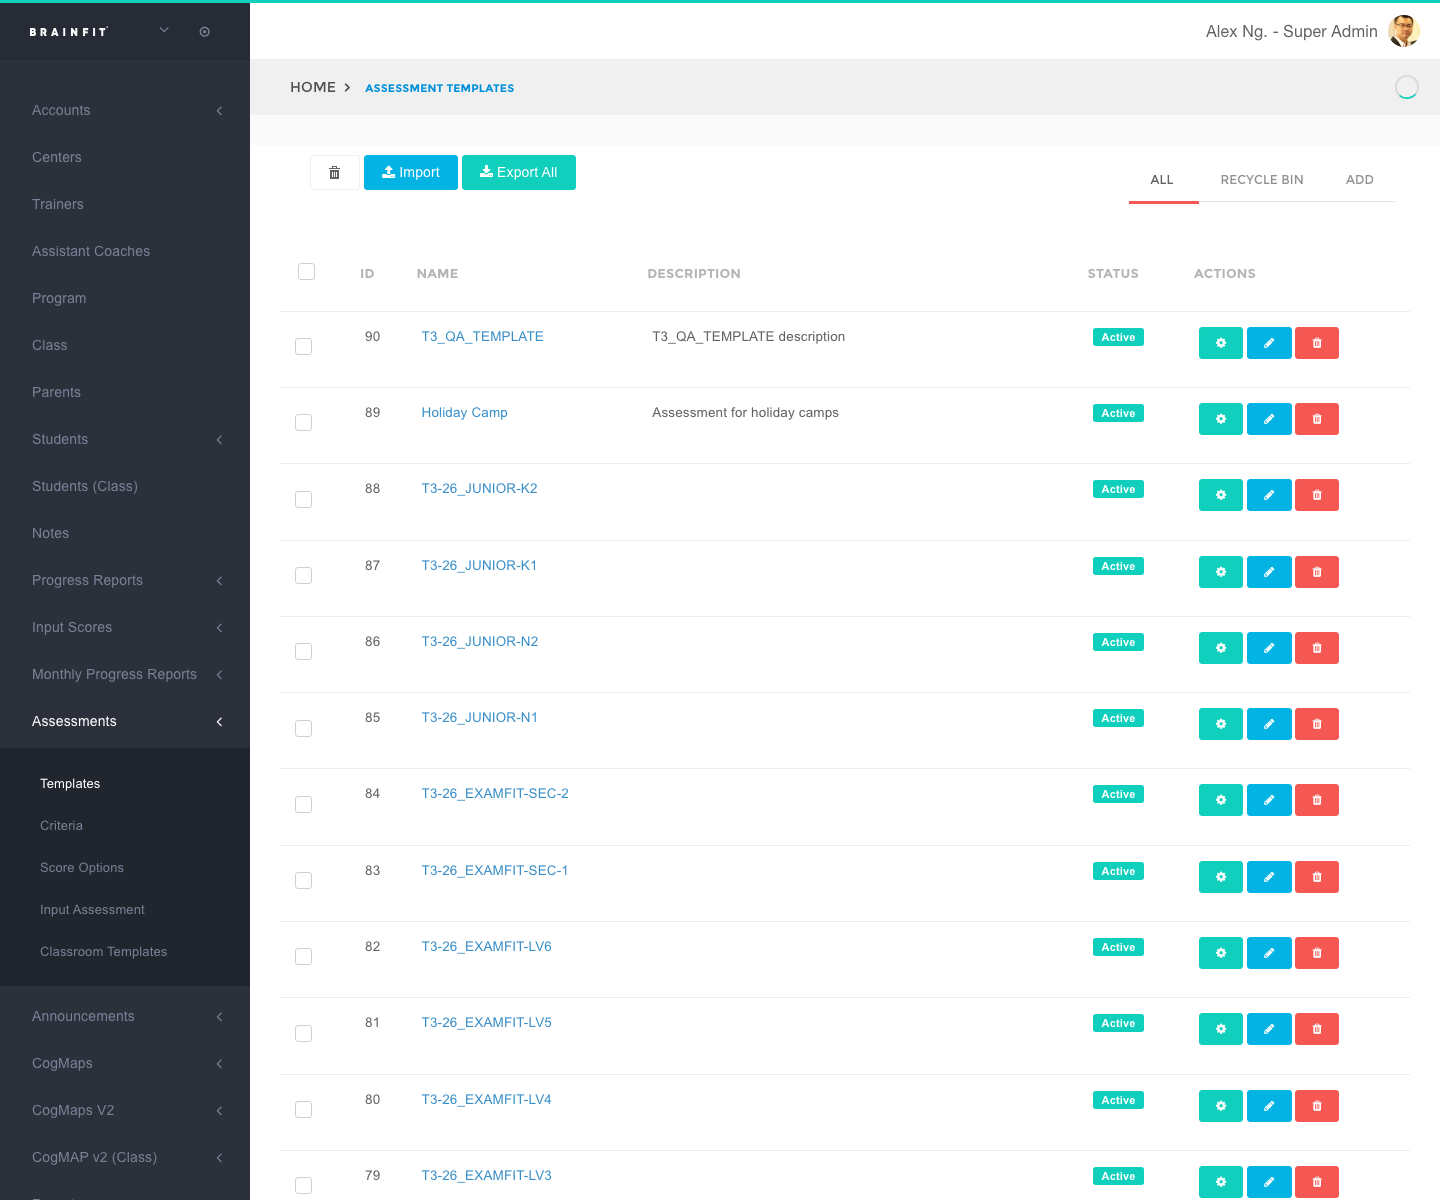
- Fill in the following information for each field:
- Name: Enter the desired name for the template.
- Description: Provide a brief description of the template.
- Program: Optional. Attaches this template to one of your own Master Licensee's Programs — see the note below for what this affects. Leave as "-- No program assigned --" if you don't need it yet; it can be set later from Edit.
- Template is active checkbox: Check to enable the template; uncheck to disable it.
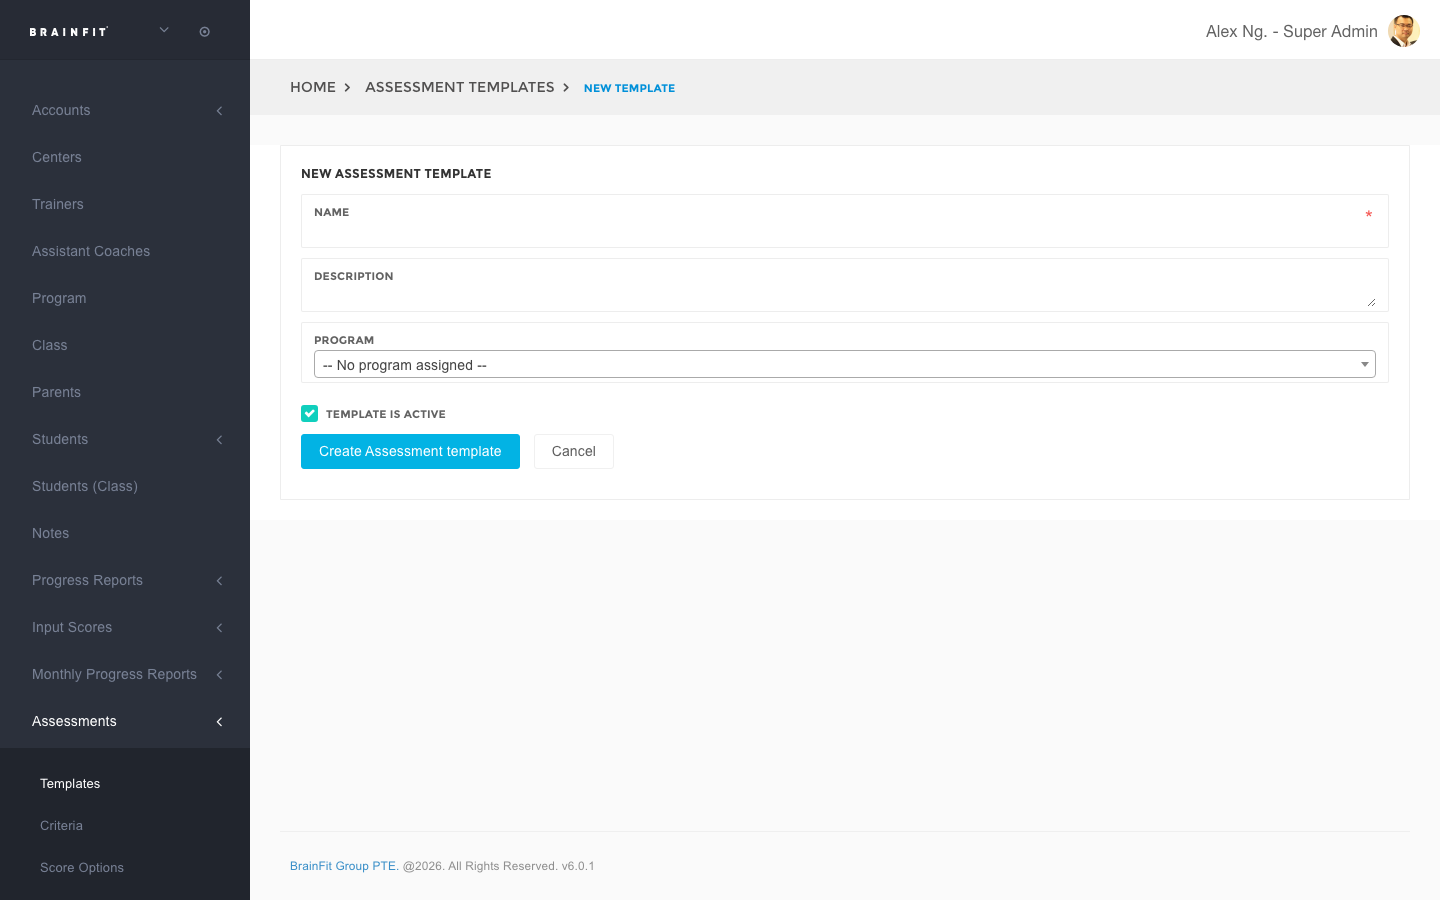
- Click Create Assessment template to save the new template.
Program is manual-only, and affects the printed PDF header
There's no automatic matching or bulk backfill — every template's Program is set by hand, at whatever pace you choose. Once a Program is attached, printed Assessment Report Card PDFs for that template show that Program's Type in the header (e.g. "BrainFit Scholar") instead of the generic default. See Assessment Print-Out for what this looks like on the actual PDF, and Managing Programs for how to set up a Program first.
Editing a Assessment Template
- Navigate to the ACP.
- Find the Assessments menu in the navigation menu, then click Templates.
- Click the Edit button.
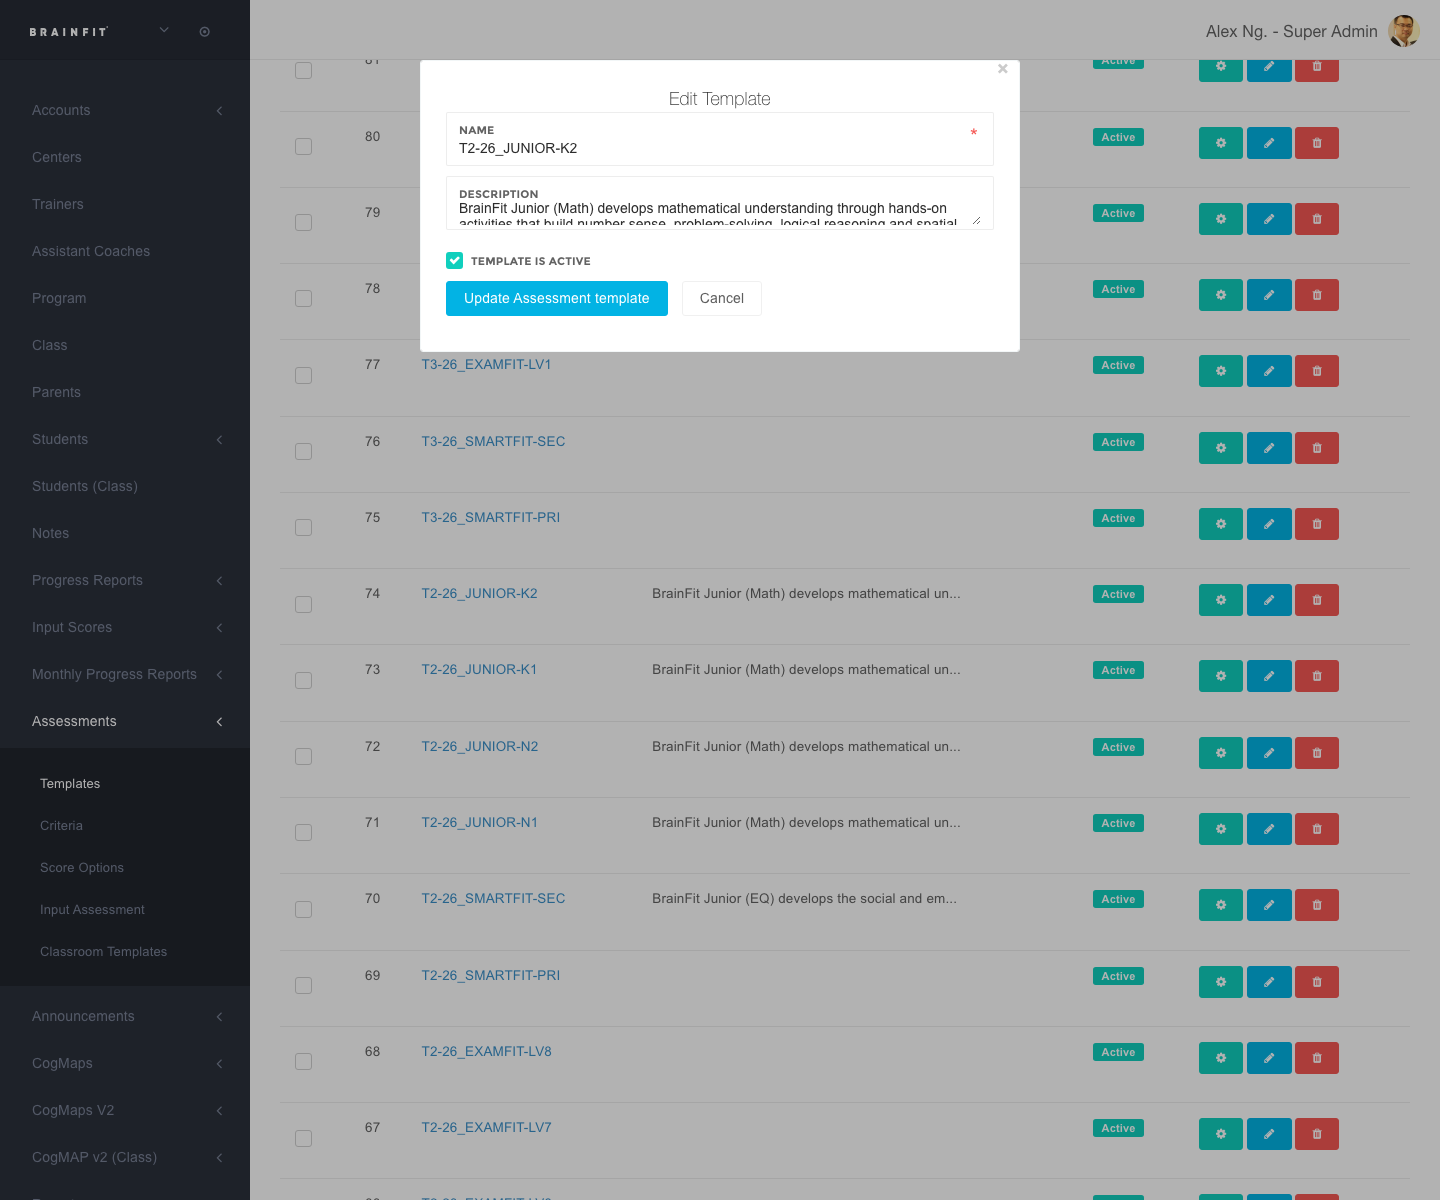
- Fill in the following information for each field:
- Name: Enter the desired name for the template.
- Description: Provide a brief description of the template.
- Program: Optional — see the note above under "Creating a New Assessment Template" for what attaching a Program does to the printed PDF header.
- Template is active checkbox: Check to enable the template; uncheck to disable it.
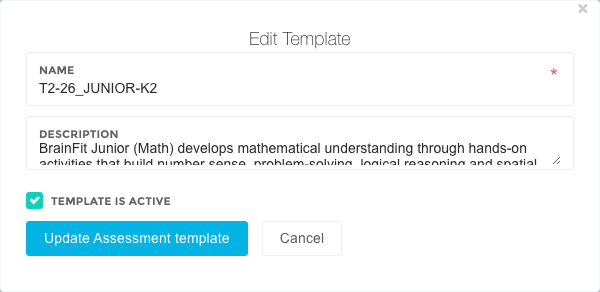
- Click Update Assessment template to save .
Setting Up a Template
- Navigate to the ACP.
- Find the Assessments menu in the navigation menu, then click Templates.
- Click the Setup Template button (cog icon) for the template you want to configure.
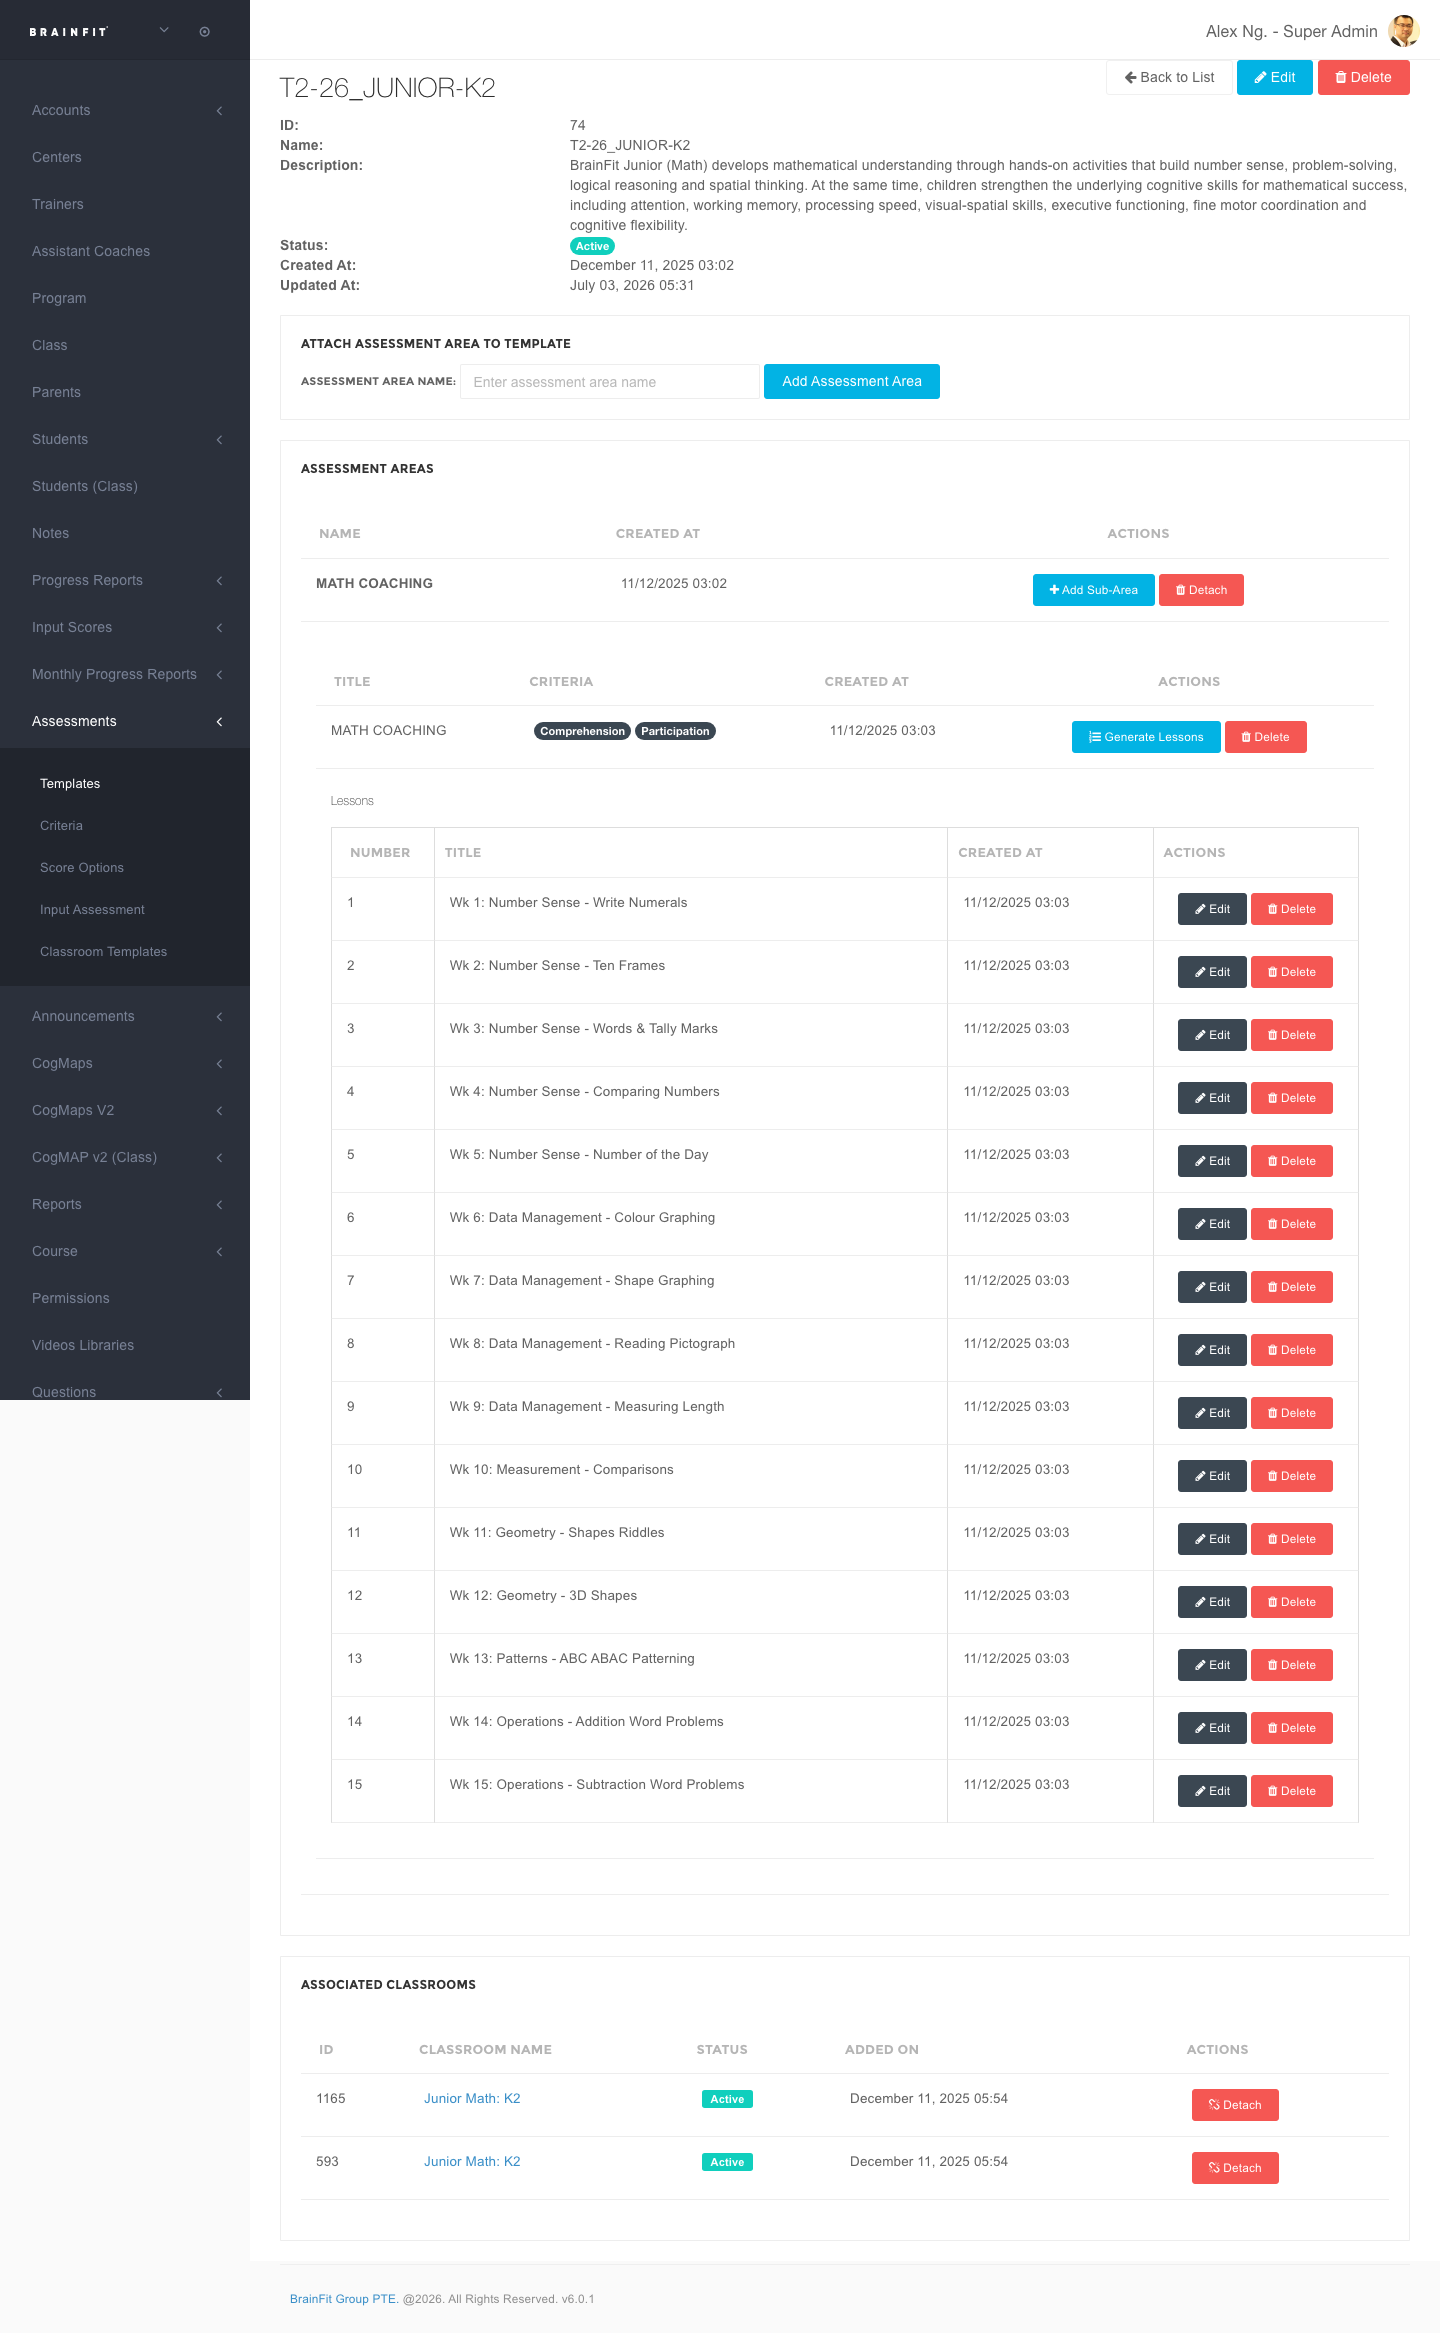
- Click within the "Assessment area name" field.

- Type the desired assessment area name (e.g., "Emotion").
- Click Add Assessment Area.
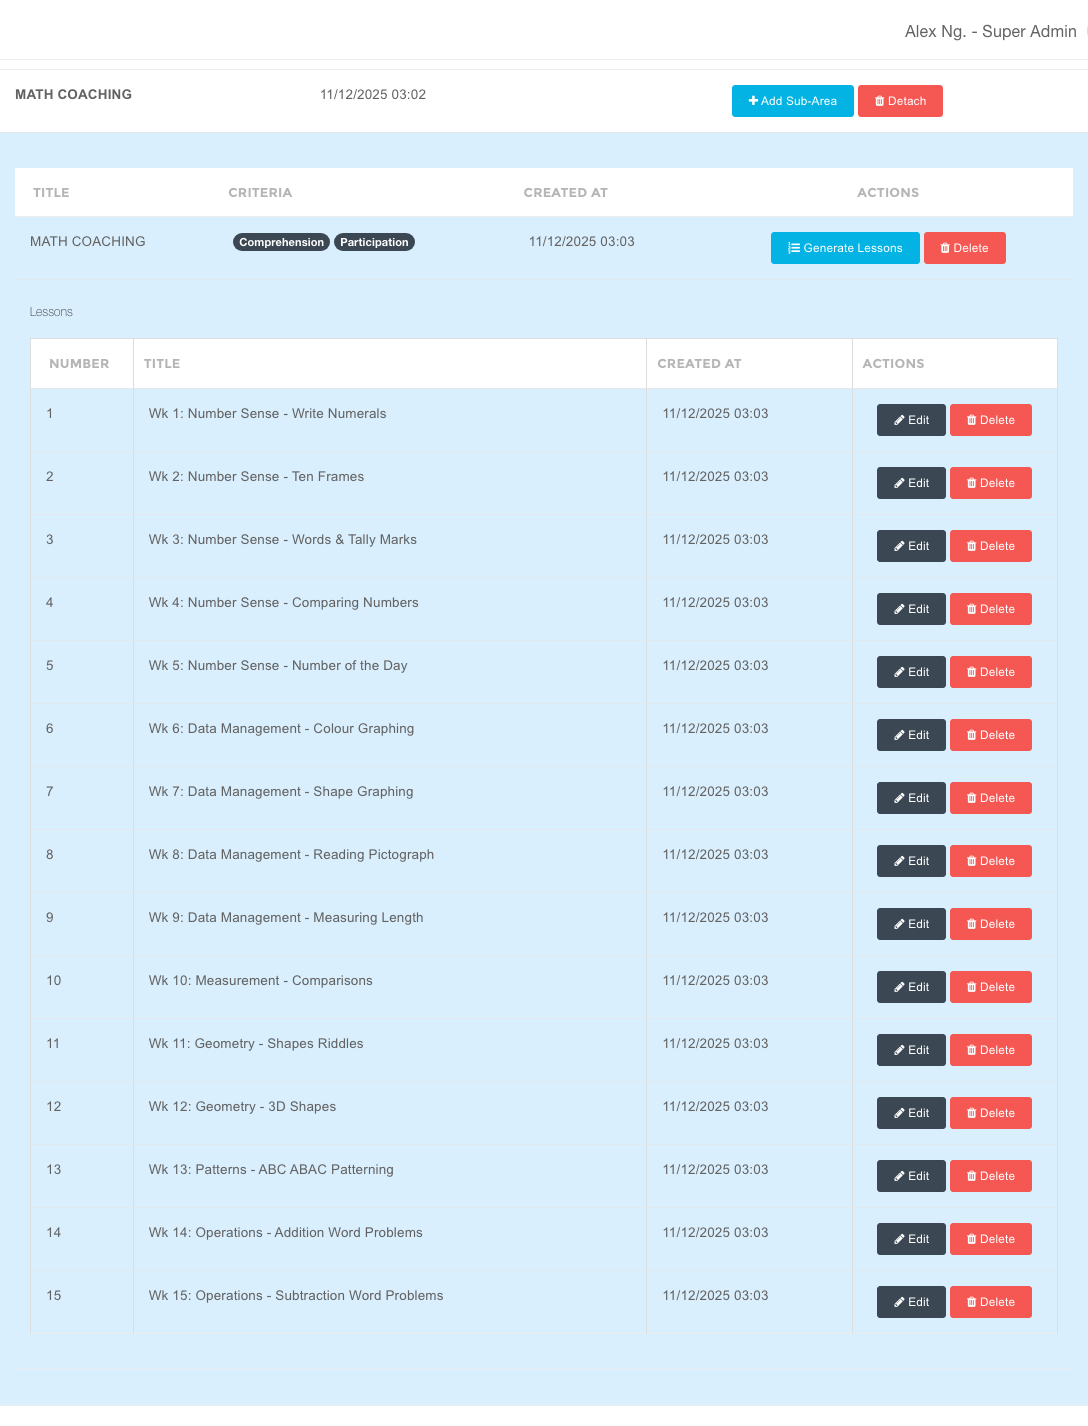
- For each assessment area, click Add Sub-Area.

- Fill in the following information for each sub-area:
- Title: Enter the name of the sub-area.
- Criteria: List the criteria associated with this sub-area (one criterion per line).
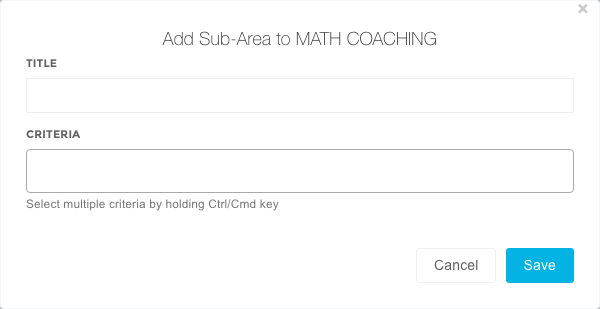
- Click Save to apply the template setup.
- Click Generate Lessons.

- Fill in the following information:
- From Lesson Number: Enter the starting lesson number.
- To Lesson Number: Enter the ending lesson number.
- Lesson Titles (one per line): Optionally enter specific titles for each lesson. If left blank, the system will use default titles (e.g., Lesson 1, Lesson 2).
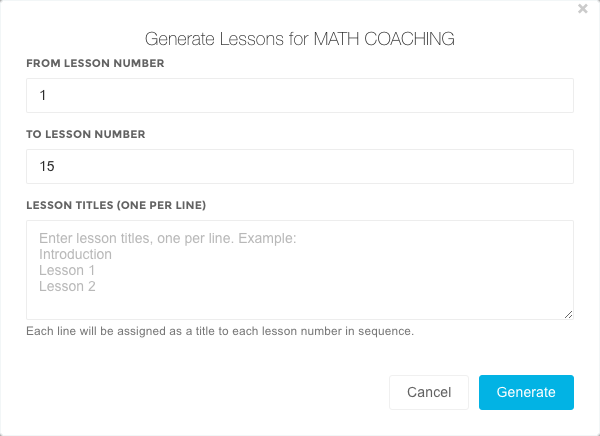
- Click Generate.
- In the Associated Classrooms section, you can view a list of classrooms currently attached to this template, and detach any of them. To attach a new classroom, use Classroom Templates in the Assessments menu instead — the "Attach Classroom" panel that used to be on this page has been removed.

Creating Criteria
- Navigate to the ACP.
- Find the Assessments menu in the navigation menu, then click Criteria.
- Click New Criterion.
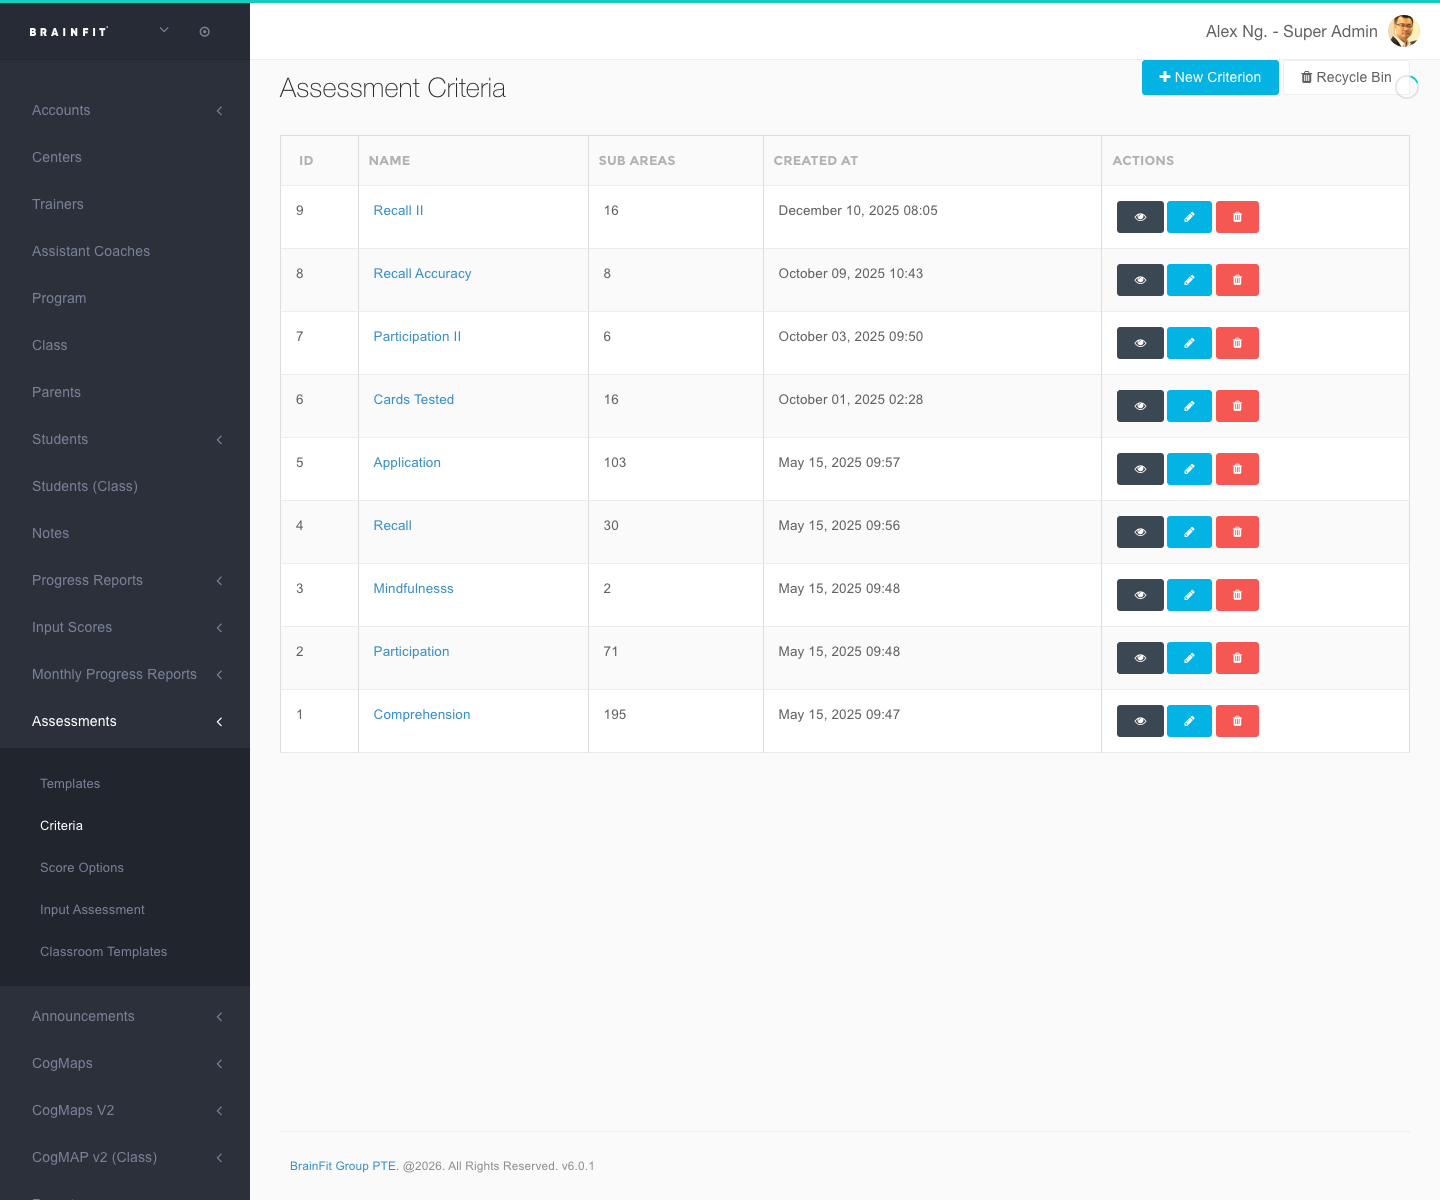
- Enter the name for the new criterion.
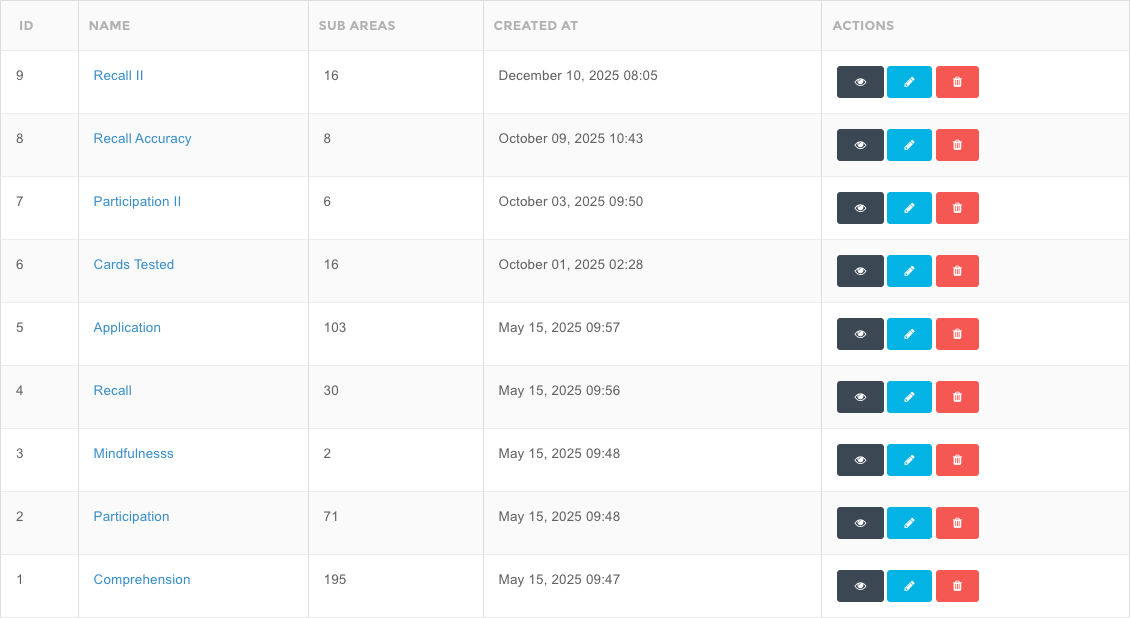
- Click Save.